
Halloween is all about atmosphere, bright colors, and a touch of magic 👻✨.
And what could be more festive than painting your own funny little pumpkins?
This masterclass is perfect even for beginners: simple shapes, clear steps, and a stunning result.
What you’ll need:
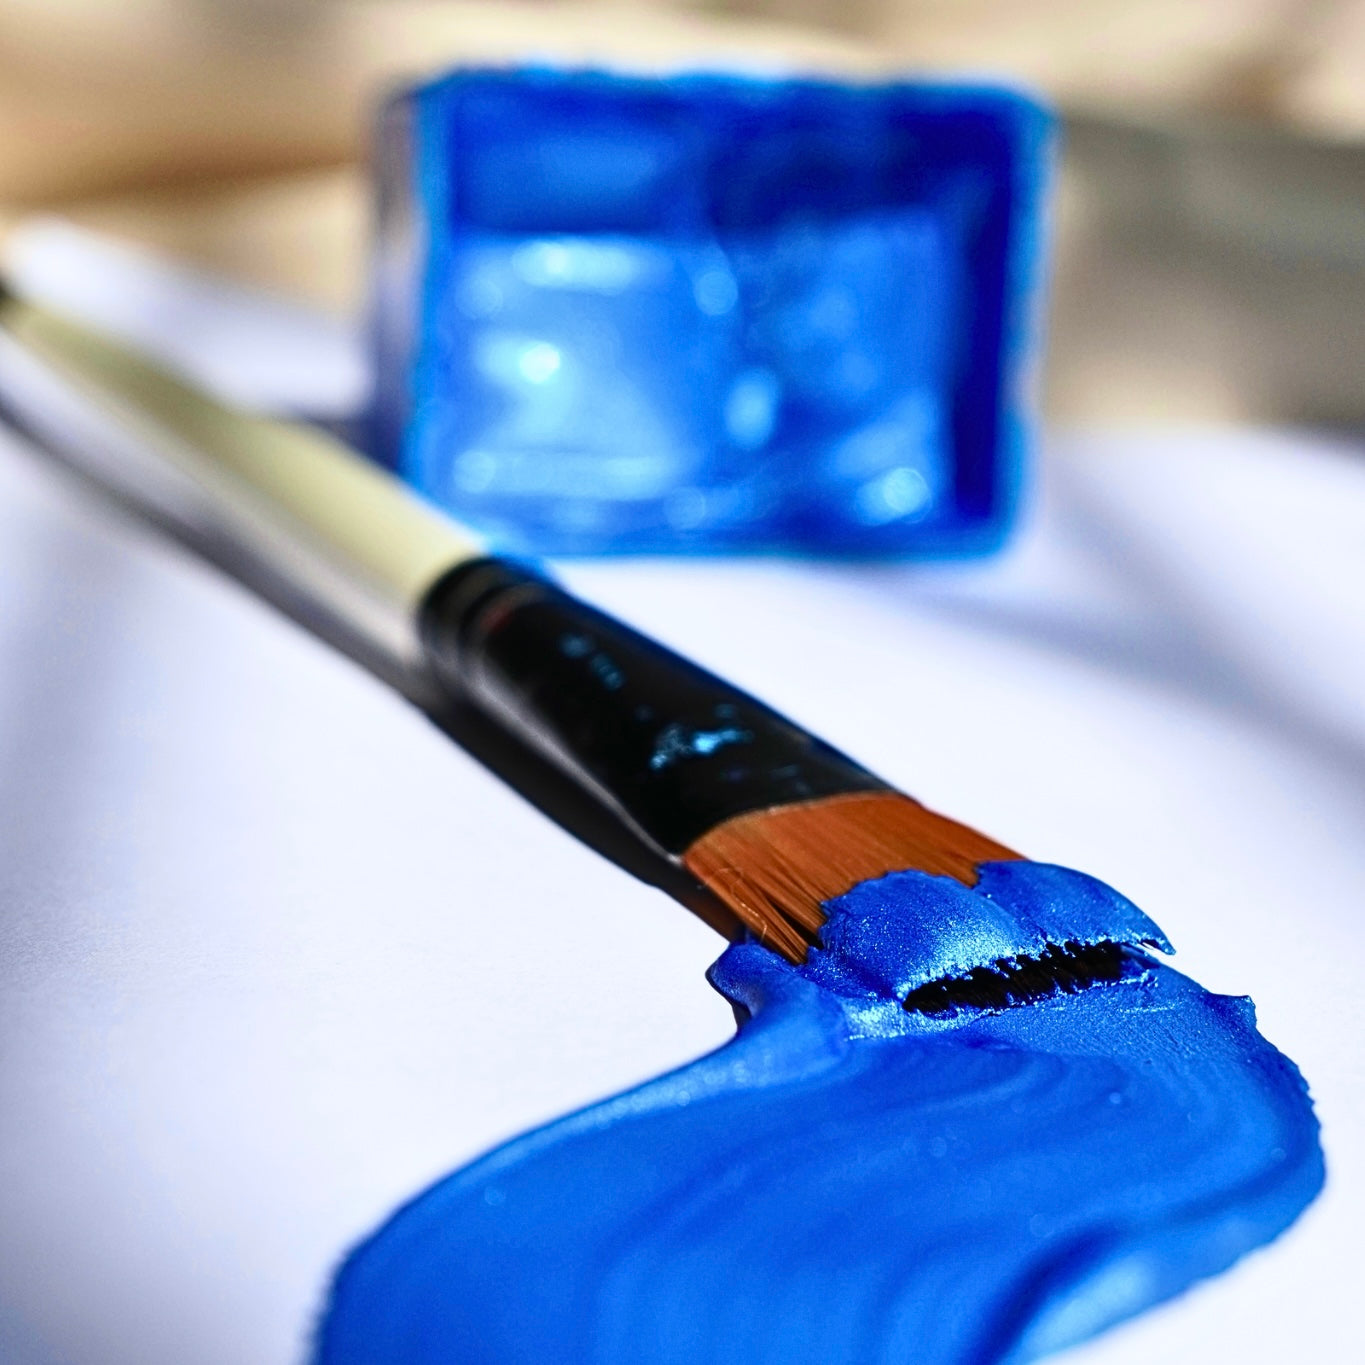
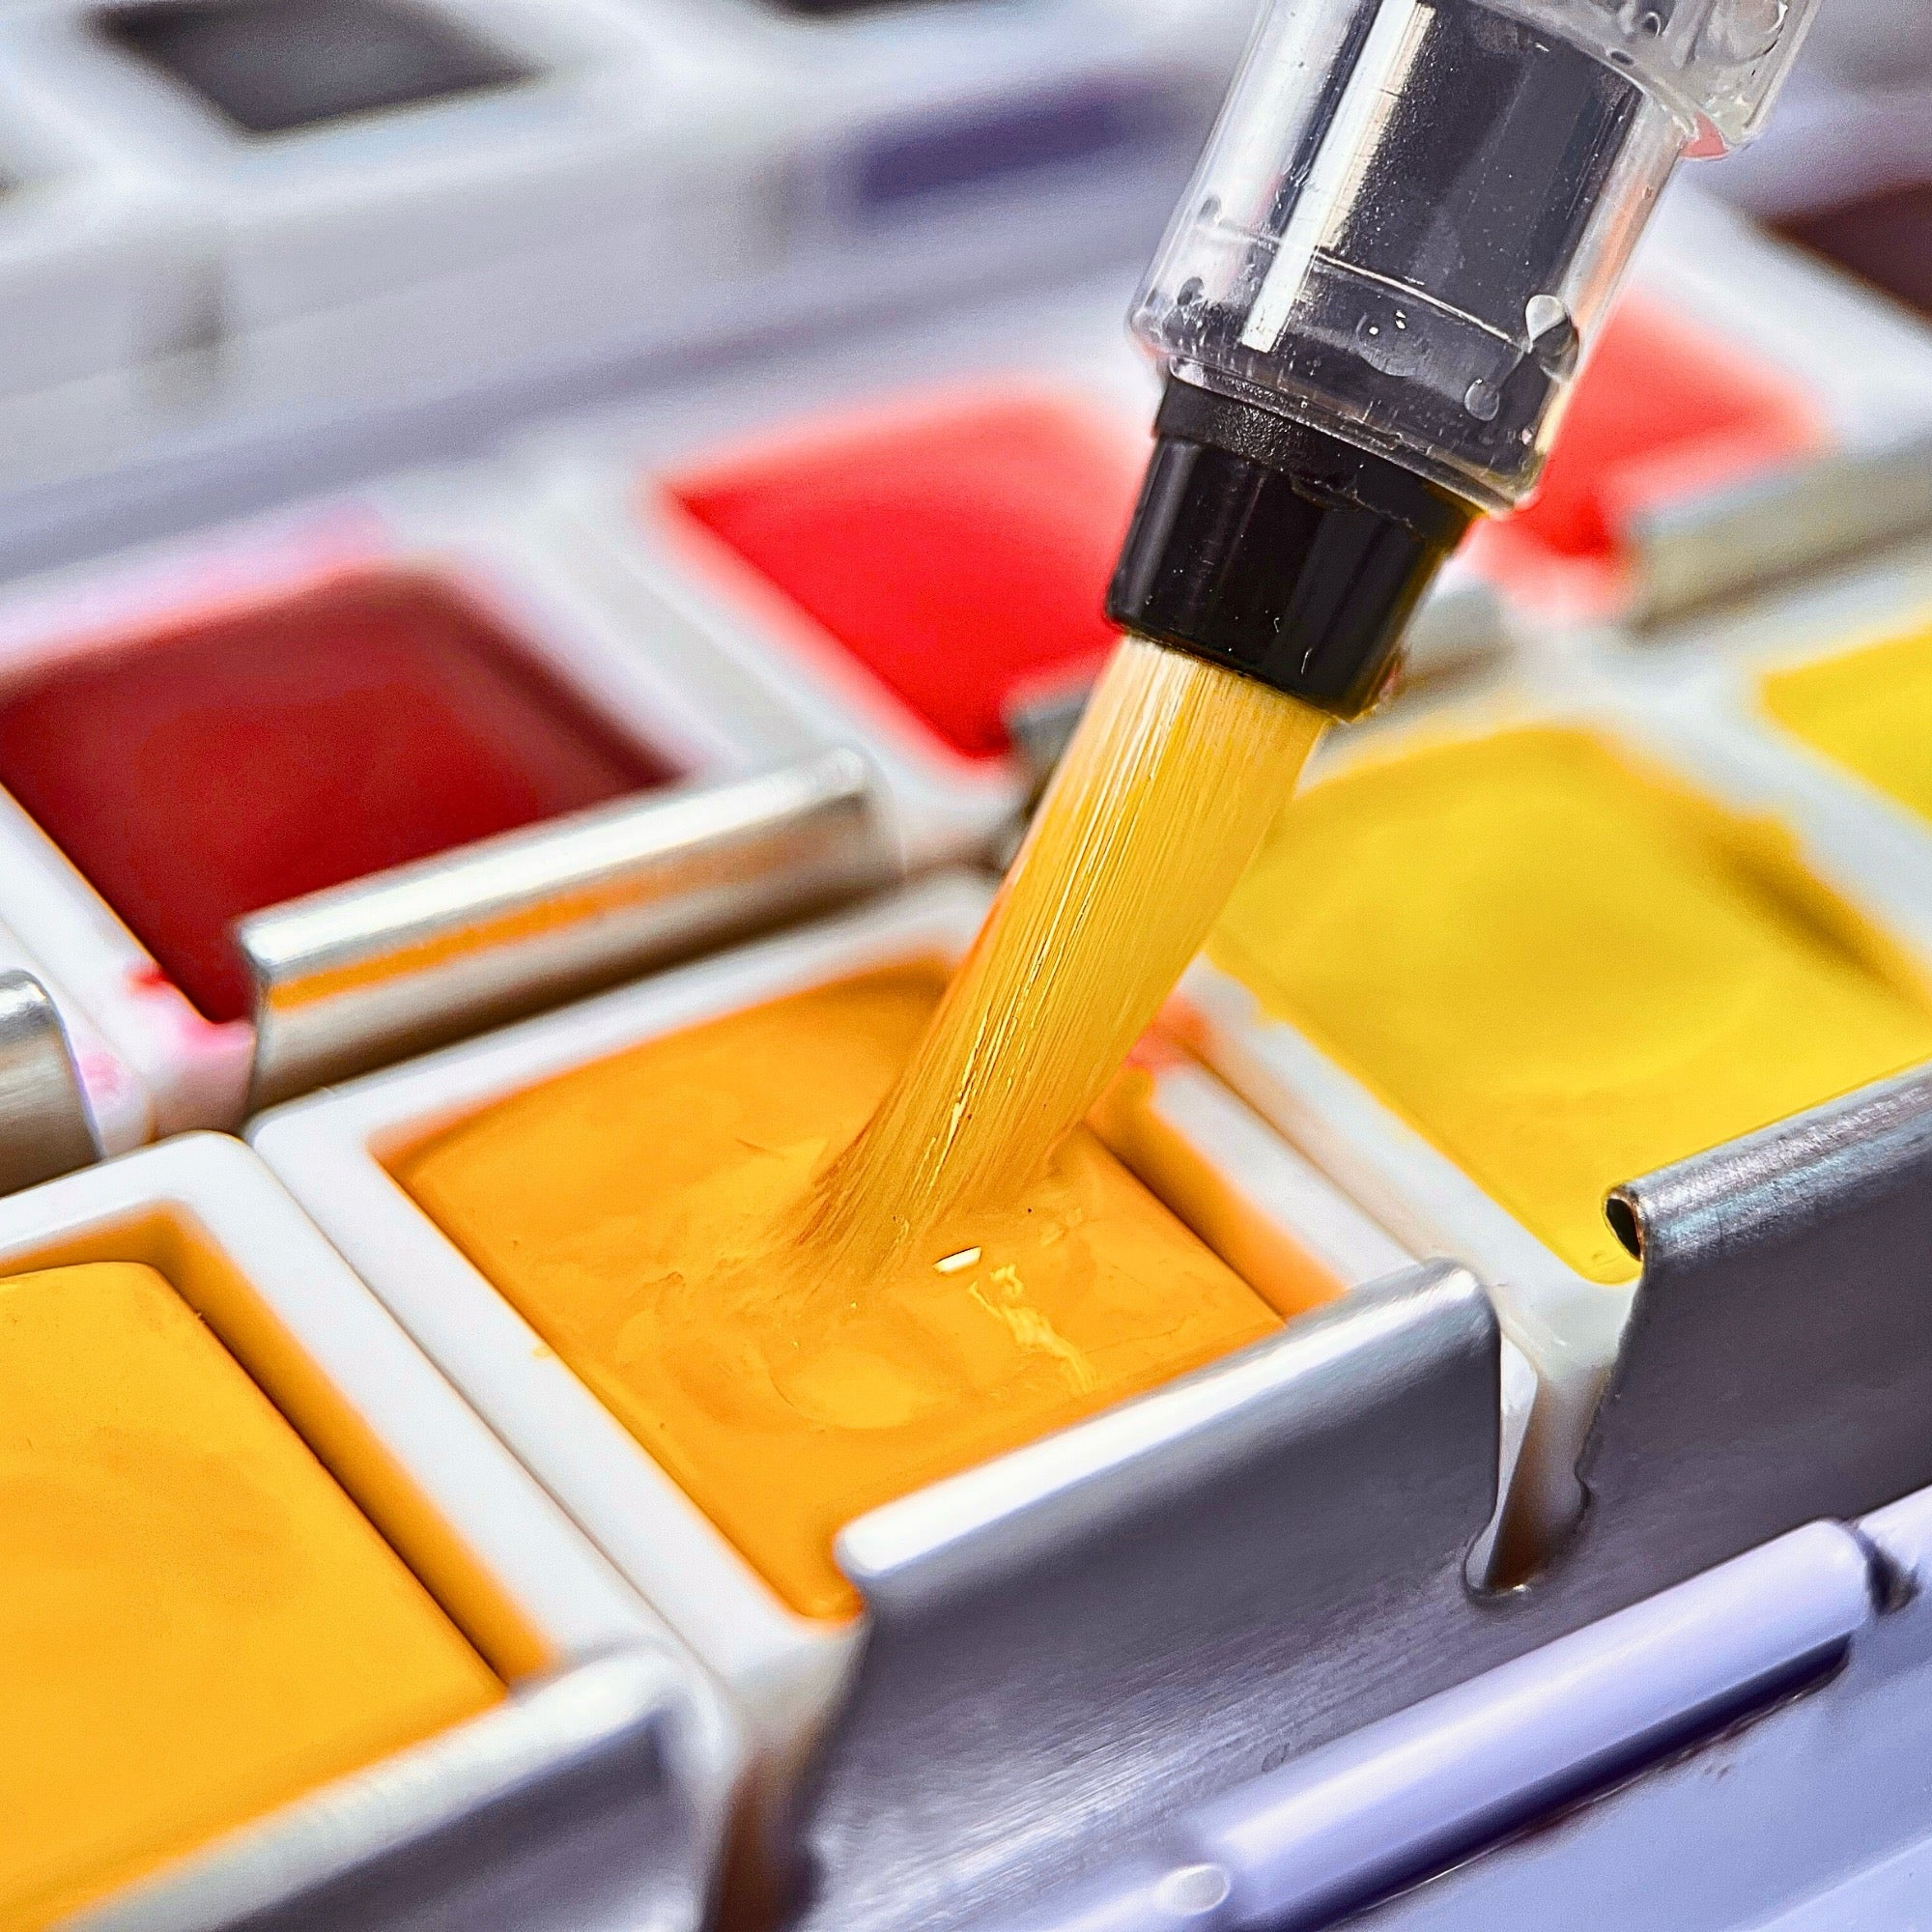
- gouache (Orange Red, Yellow Ochre, Sand, Burnt Umber, White, Metallic Copper, Black);
- brushes of different sizes;
- a pencil;
- thick paper.
Step 1 – Light Sketch
On a blank sheet, lightly sketch pumpkins with a pencil. They can be round, long, crooked — it’s all up to your imagination. Don’t press too hard; the lines should easily hide under the paint.

Step 2 – Outlines & Palette
Add stems and refine the shapes. Prepare three base colors: Orange Red, Sand, and Yellow Ochre. These will be the foundation for filling your pumpkins.

Step 3 – Base Color Fill
Fill the pumpkins with these three shades. You can blend Orange Red with Yellow Ochre to create smooth transitions. Leave small spots unpainted for future highlights.

Step 4 – Faces & Contours
Now it’s time for our favorite — Burnt Umber! Use it to draw the faces, outline the pumpkins, and paint the stems. This shade gives your artwork expression and character.

Step 5 – White Highlights
Take white paint and add a few shiny strokes. These highlights will make the pumpkins look voluminous and “alive.”

Step 6 – A Touch of Magic
For the final sparkle, add Metallic Copper to bring a festive glow. And if you want the eyes to stand out more, use a bit of black.

The Result✨
And here you have it — your Halloween pumpkins are ready! Easy, fun, and full of festive spirit. Paint together with kids or friends, create a cozy Halloween mood, and don’t be afraid to experiment with colors.


6 comments
Luv it
Love it! What paper did you use? Thank you.
Can’t wait
Can’t wait to try this!
Thank you for the inspiration. Think it’s time to play with my paint.
favorite!!!!!